Hi all…
I have done an Amiga500 case convertion, because I had a spare 500-board floating around, needing a new home. Because I have wanted a cased Amiga500 since like 1997/98 or something like that. And because I had a loose PC case in the closet.
To this date, I need to add some way of connecting a keyboard. In order to make it a fully functioning Amiga500, just in a different case. I have upgraded it to 1mb ChipRam onboard, yet I need to get the following upgrades in the future.
Internal IDE interface.
8mb FastRam.
Scandoubler.
DF0/DF1 boot selector.
Kickstart switcher.
That way, I can get my own custom made “Big-Box” Amiga500. I kind of aim at getting something that are close to an Amiga2000 with this little project.
My question to you guys… How well did I do and does the case look Amiga’ish enough?
I’m certainly no Amiga expert, but it looks good to me. Very nice job, no matter how Amiga-ish!
The only Amiga I have (have ever had) is a 2000 without keyboard. I’ve done some research and the keyboard specs are pretty simple. They differ between models, though. If you are up to it, an Arduino or similar should be easy enough to turn into a keyboard translator. If you need the specs I can point you to them.
Thanks… Personally I think it looks like a mix between an 500 and an 4000, with some hints from the 1200 mixed in. Regarding the keyboard, then I have two options.
One: Buy a keyboard case from the maker of the Checkmate1500-Plus.
Two: Buy one of them dongles that will allow me to use a USB keyboard or Ps/2 keyboard.
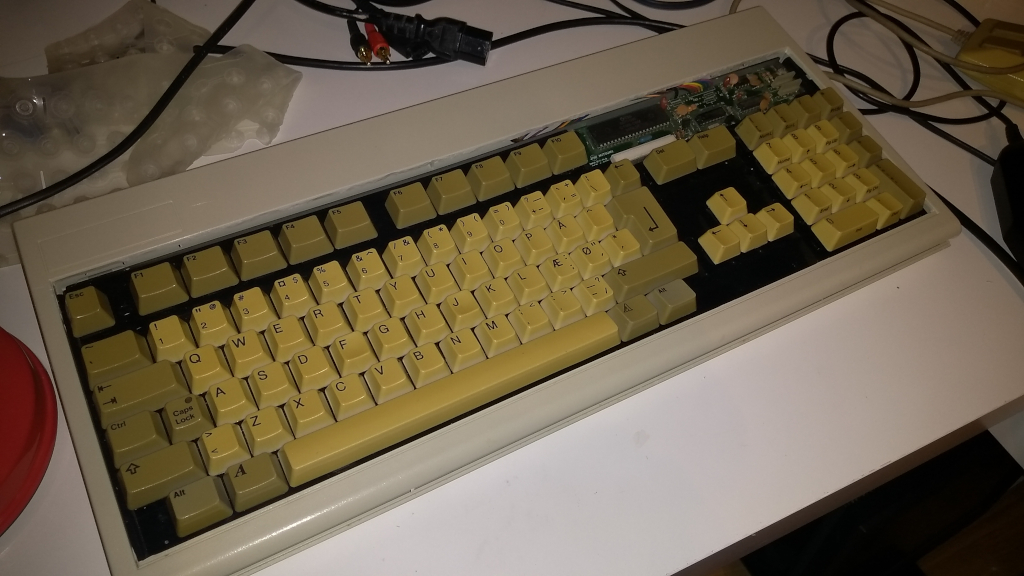
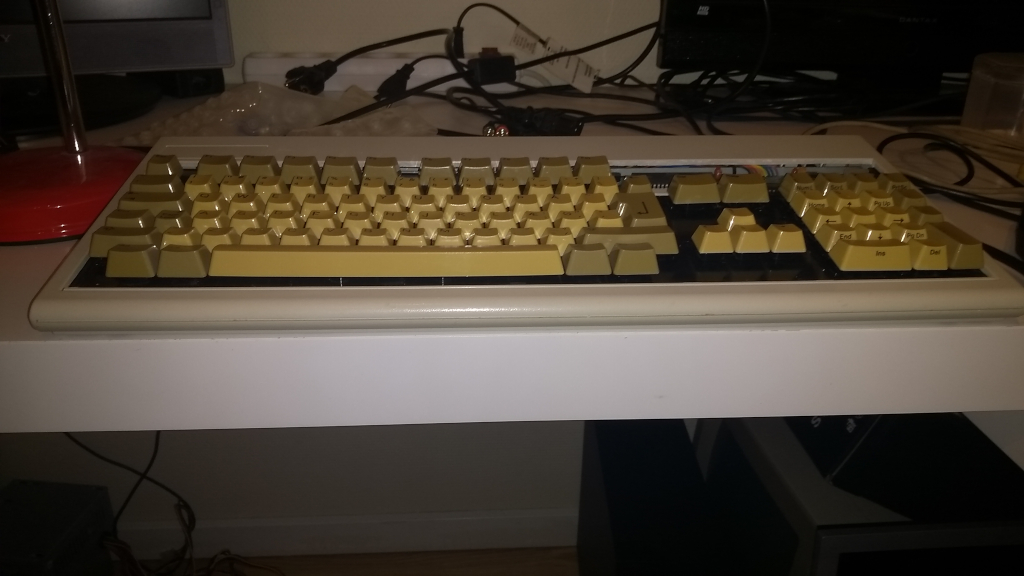
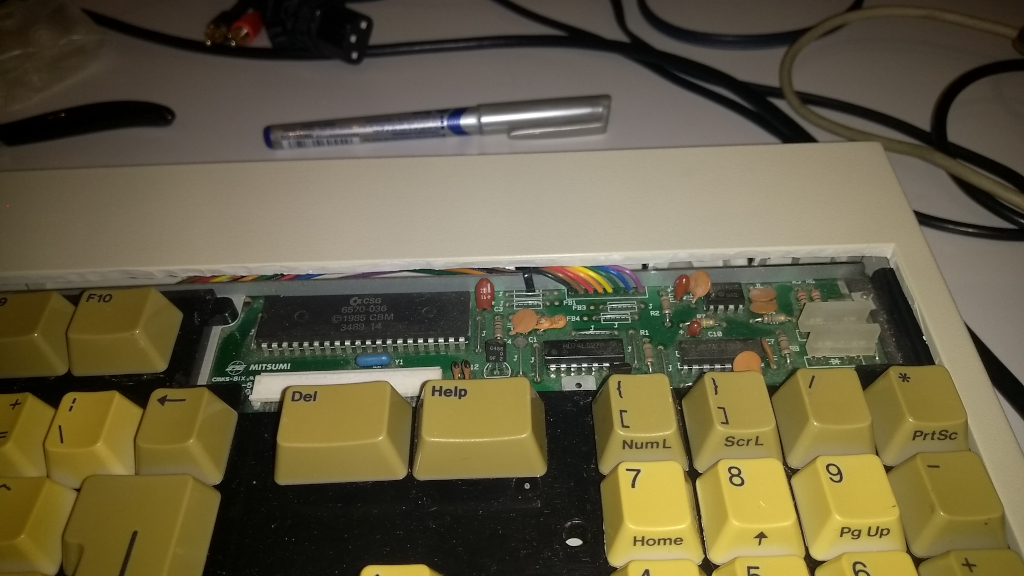
And I have begun to build myself a keyboard. I found an old dead Keytronic membrane (oh, the horror) Model-M wanna-be keyboard from 1996. I have gutted it and used a box cutter to remove the top layer of the plastic. In order to have an Amiga500 keyboard fit inside the shell. I still need to adress the wires that runs from the PCB on the keyboard. Eighter I have to have them run under the keyboards metal frame, or I need to shave off some more material on the plastic-shell. When that is done, then I will have to rebuild the top cover of the shell, as the key-layout are a different one on the Amiga. The good part, is that if I can get a hold on some ABS plastic, then I will be able to build something neat, designwise, using ABS and acetone. And then have it fit on top of the keyboard PCB. Finally I will need to rebuild the plastic spacing-thingy that goes around the key’s, in order to hide the black plastic.
I am thinking about doing something that looks like a mix between an Amiga3000 and an Amiga4000 keyboard, and have working led’s. I will have to see, what I can come up with, as I start to design as I build.
I almost forgot to tell people…
I have come a long way with this project now. As of now it has USB-Keyboard interface, harddrive, CD-Rom drive, scandoubler and so on. So I have come a long way with this project. I have been using it a lot for the last week or so.