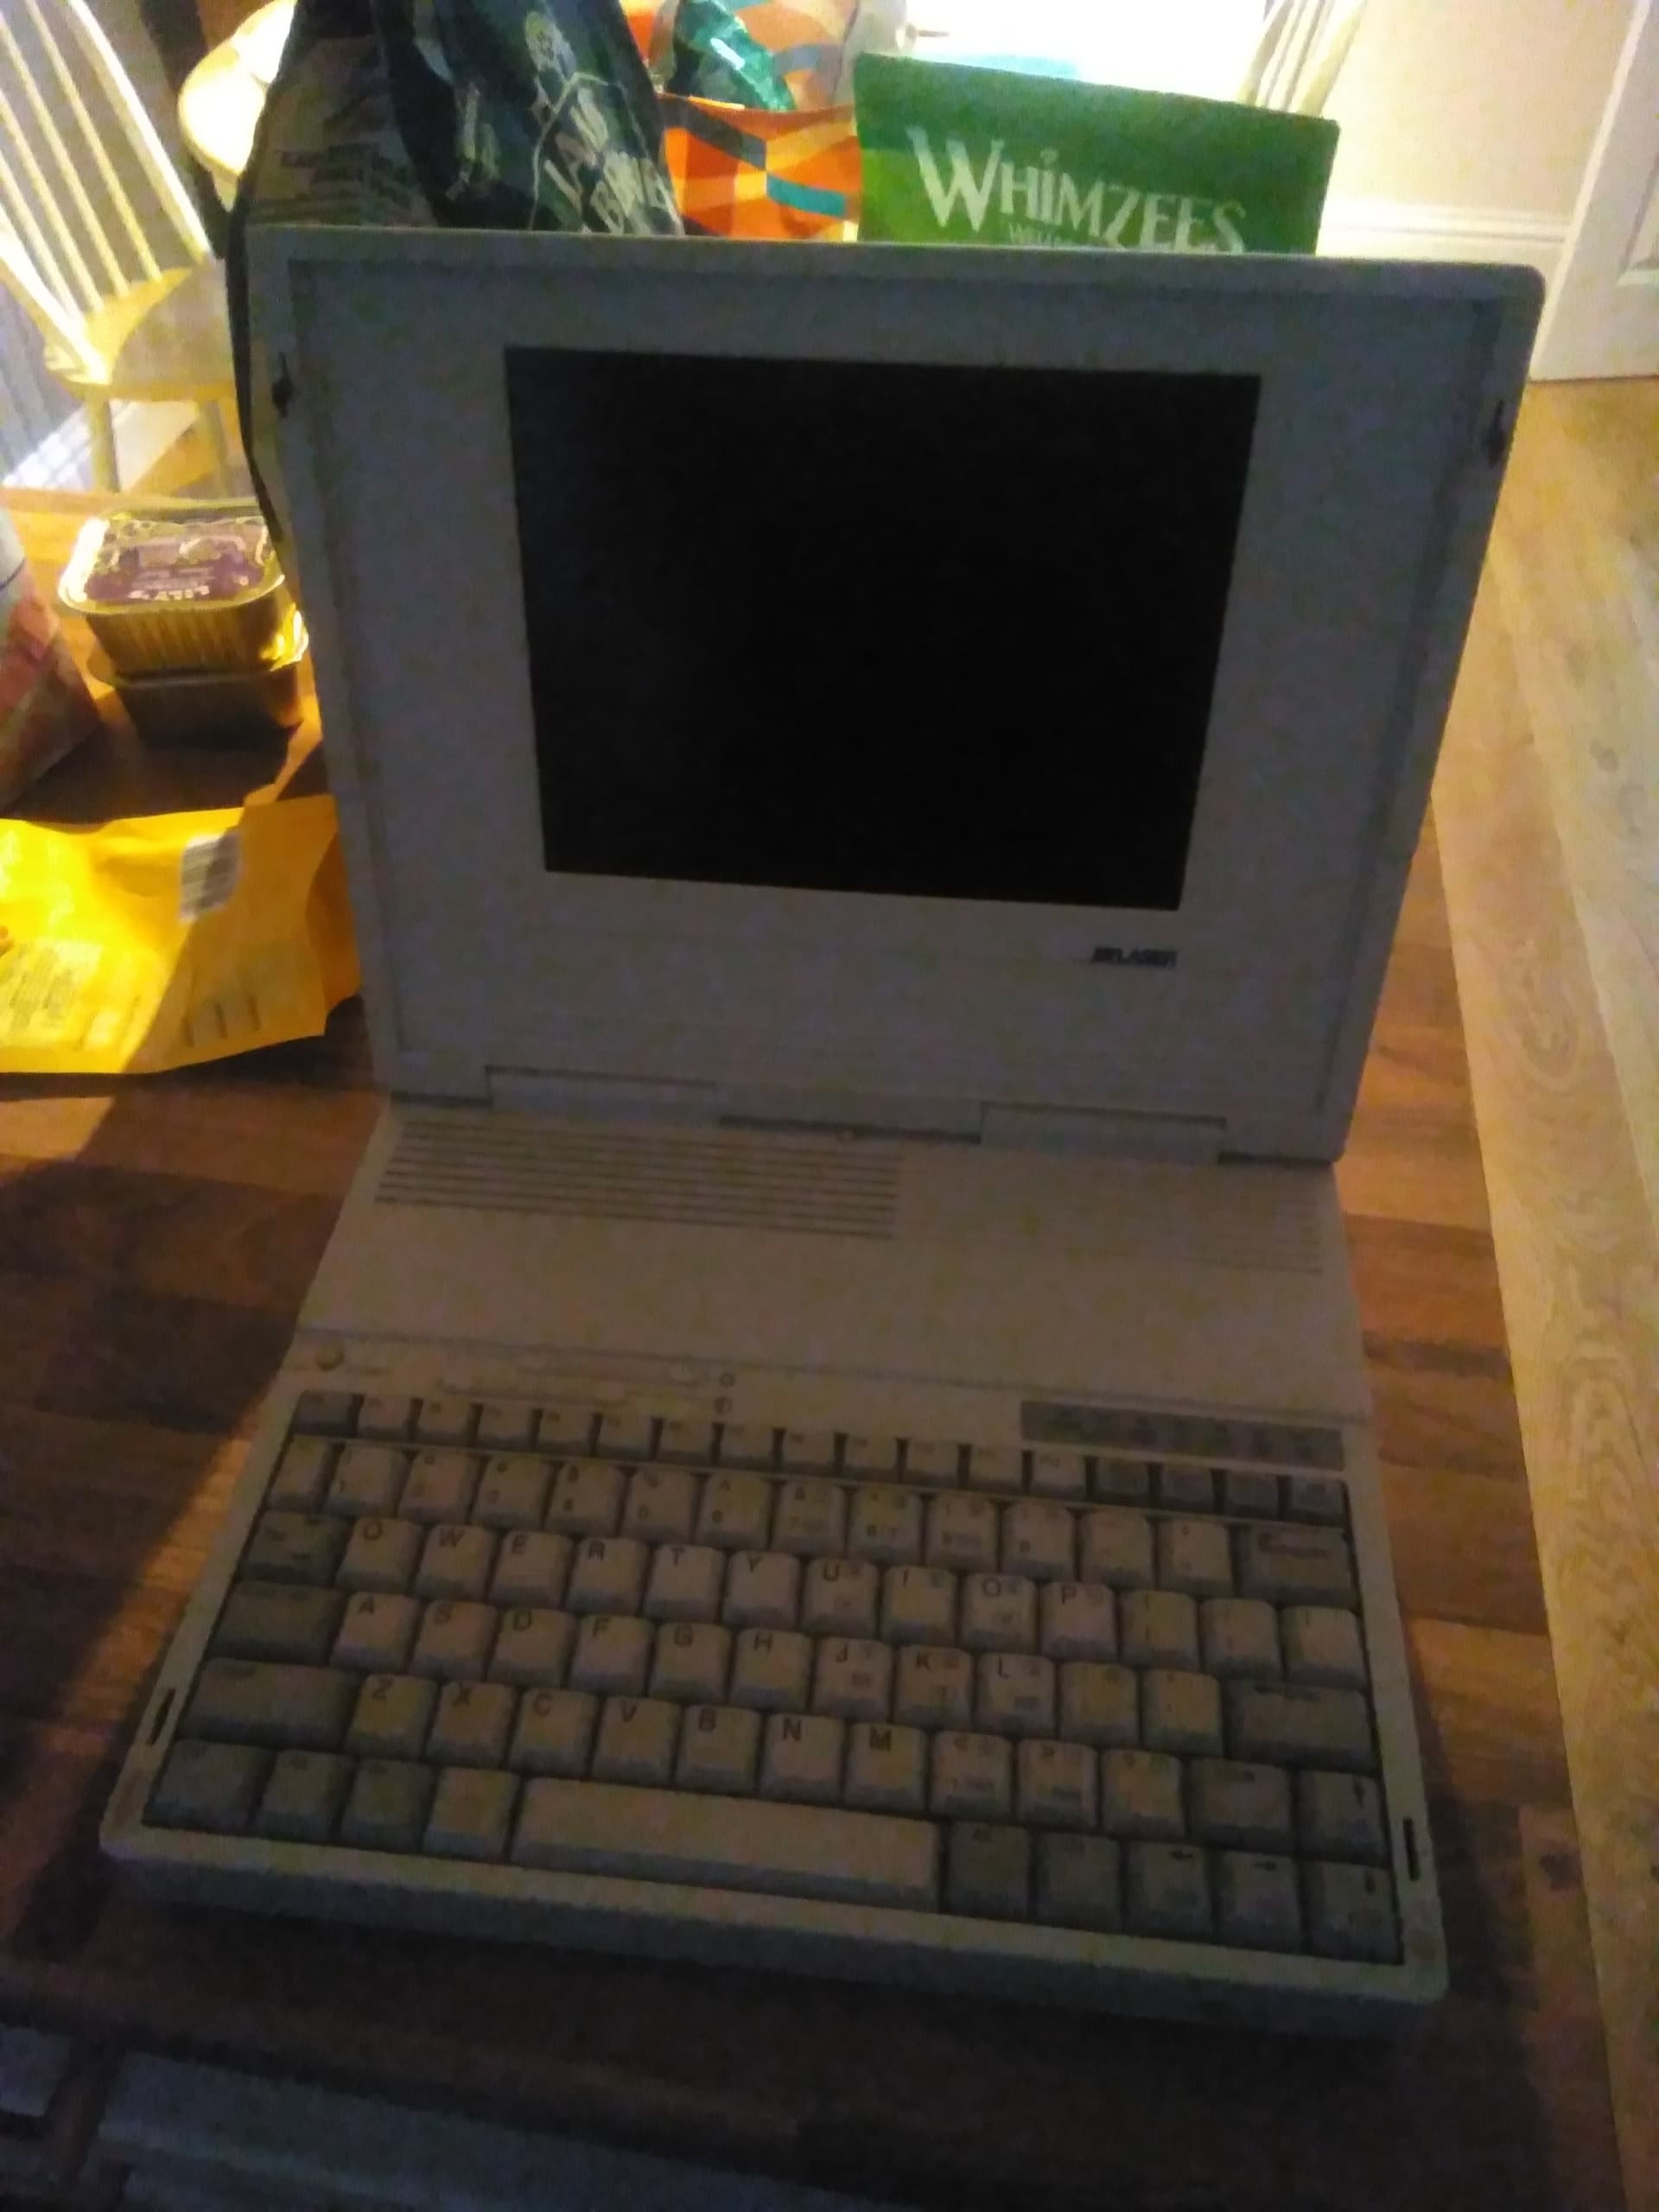
Hello all. I’ve recently reacquired a Laser LT321 laptop as my parents have been clearing their loft. The nostalgia reflex has kicked in but sadly the power supply has not turned up.
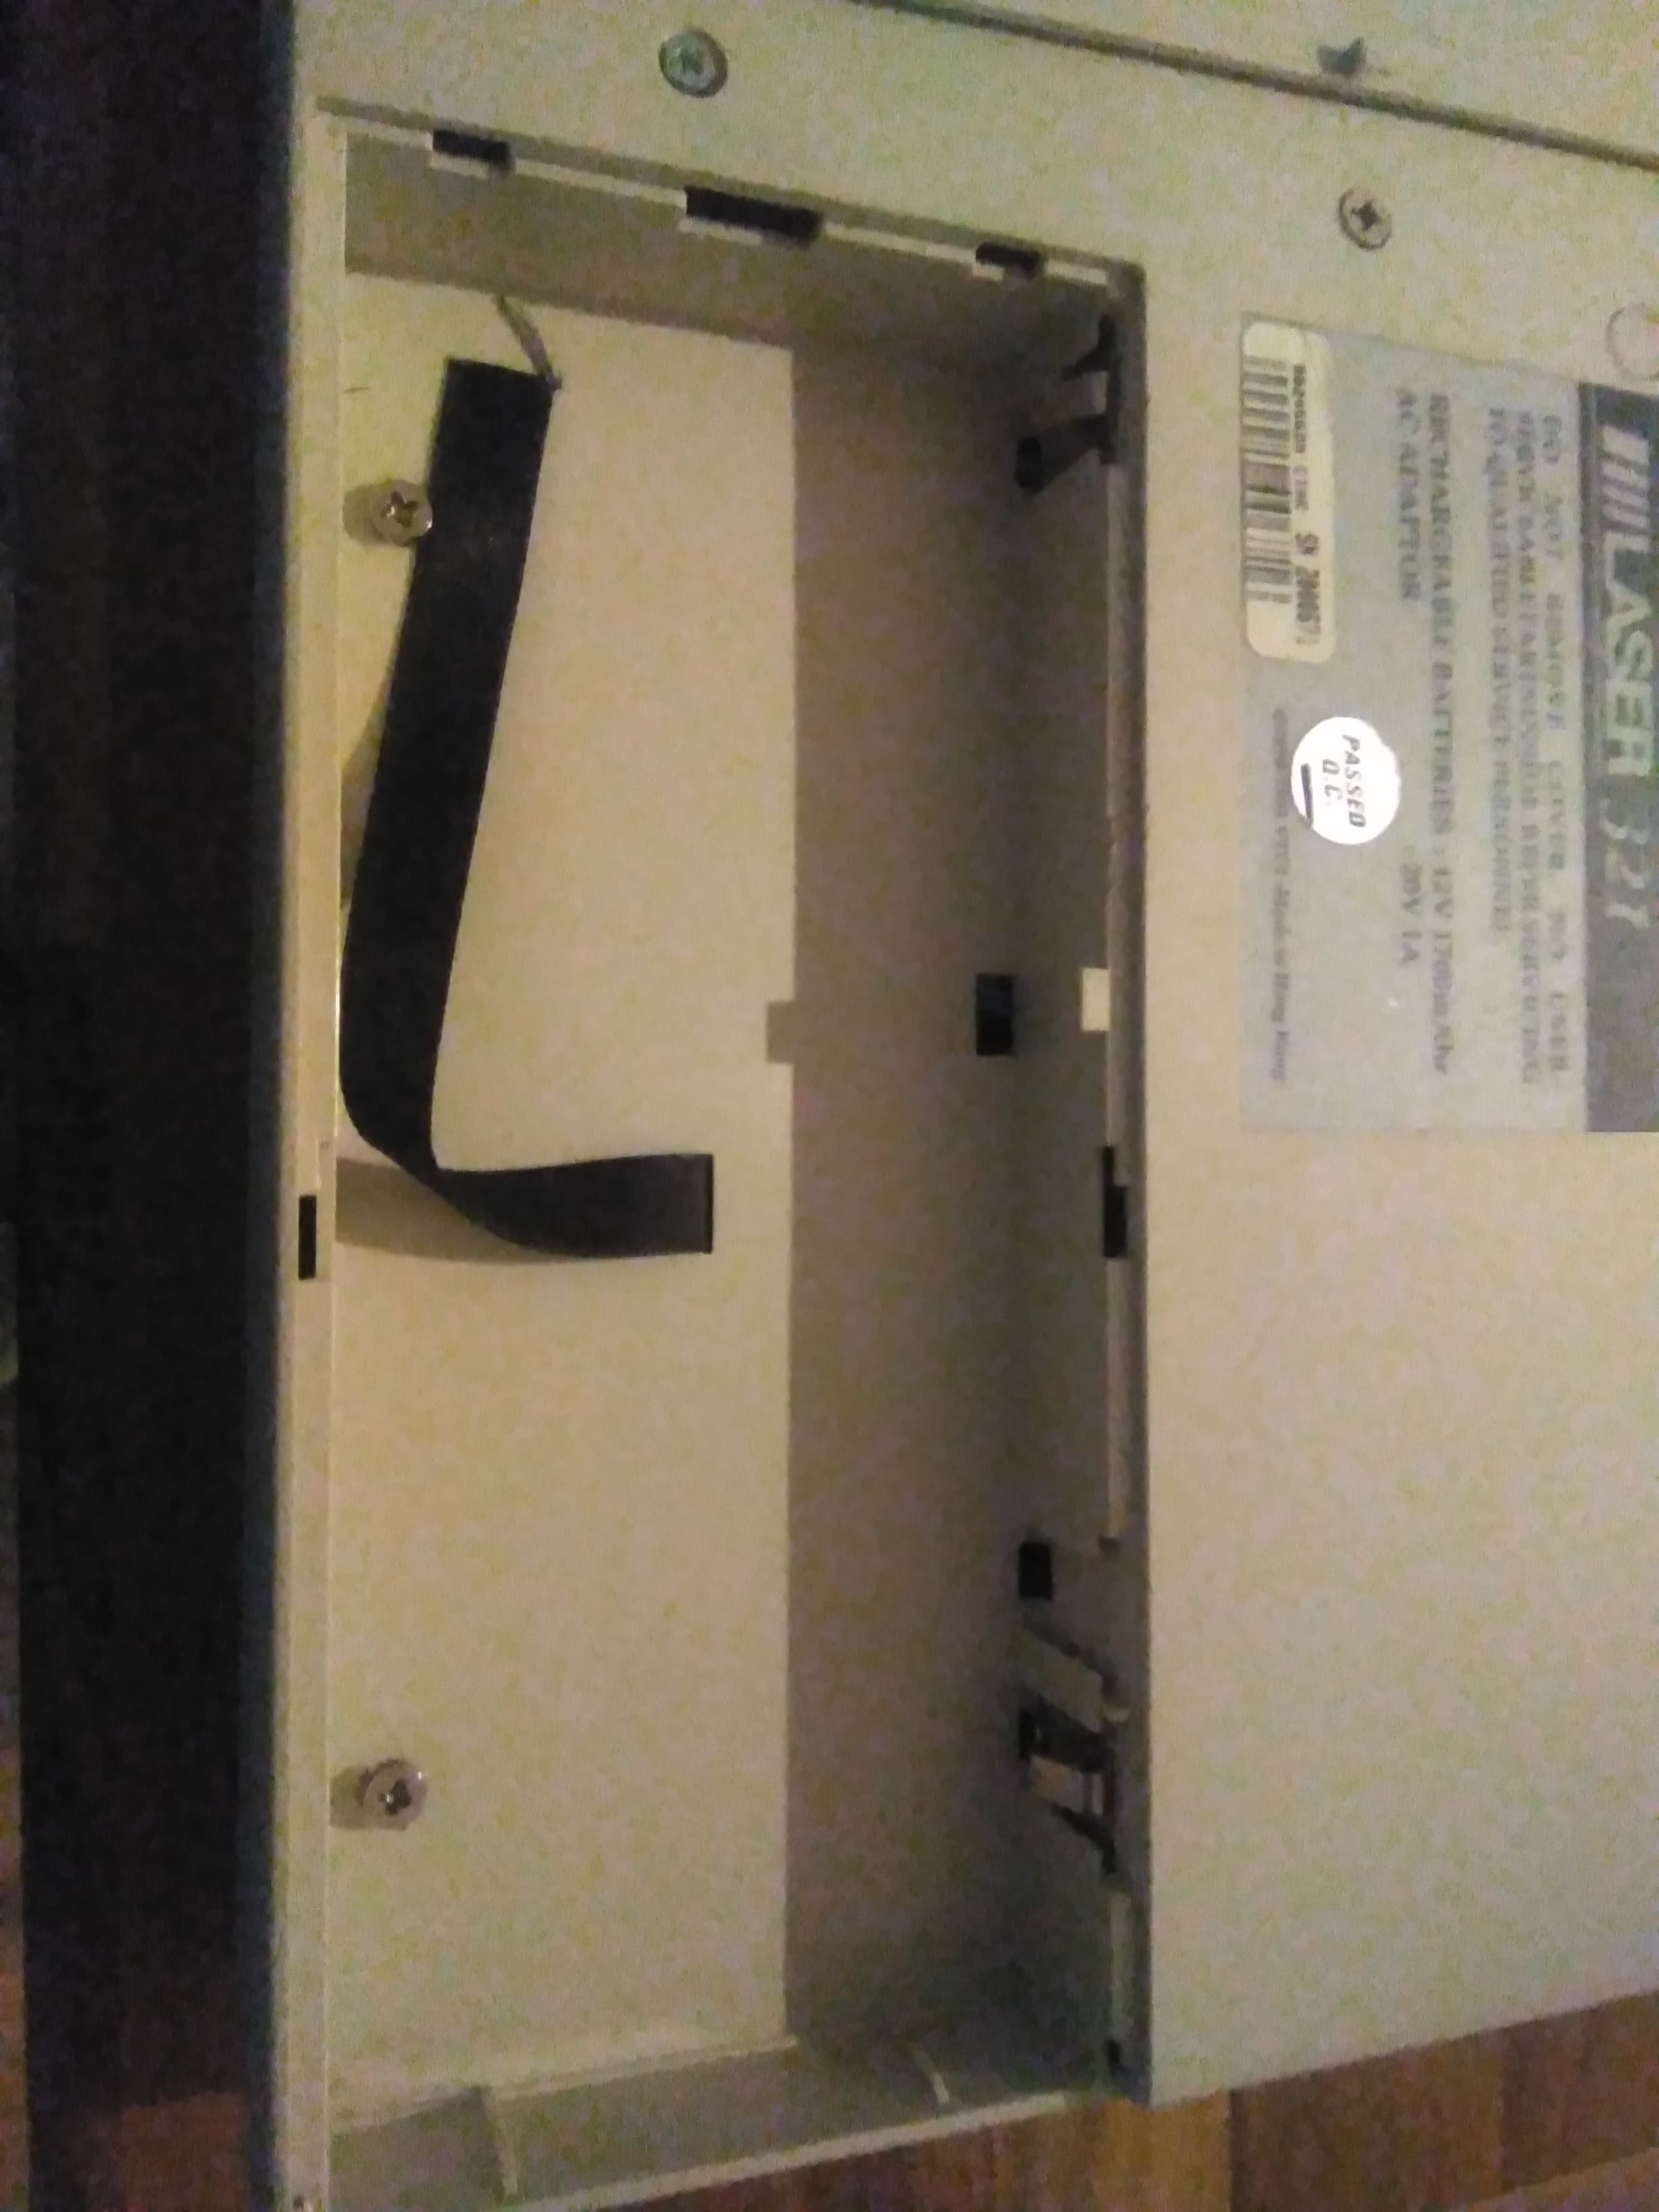
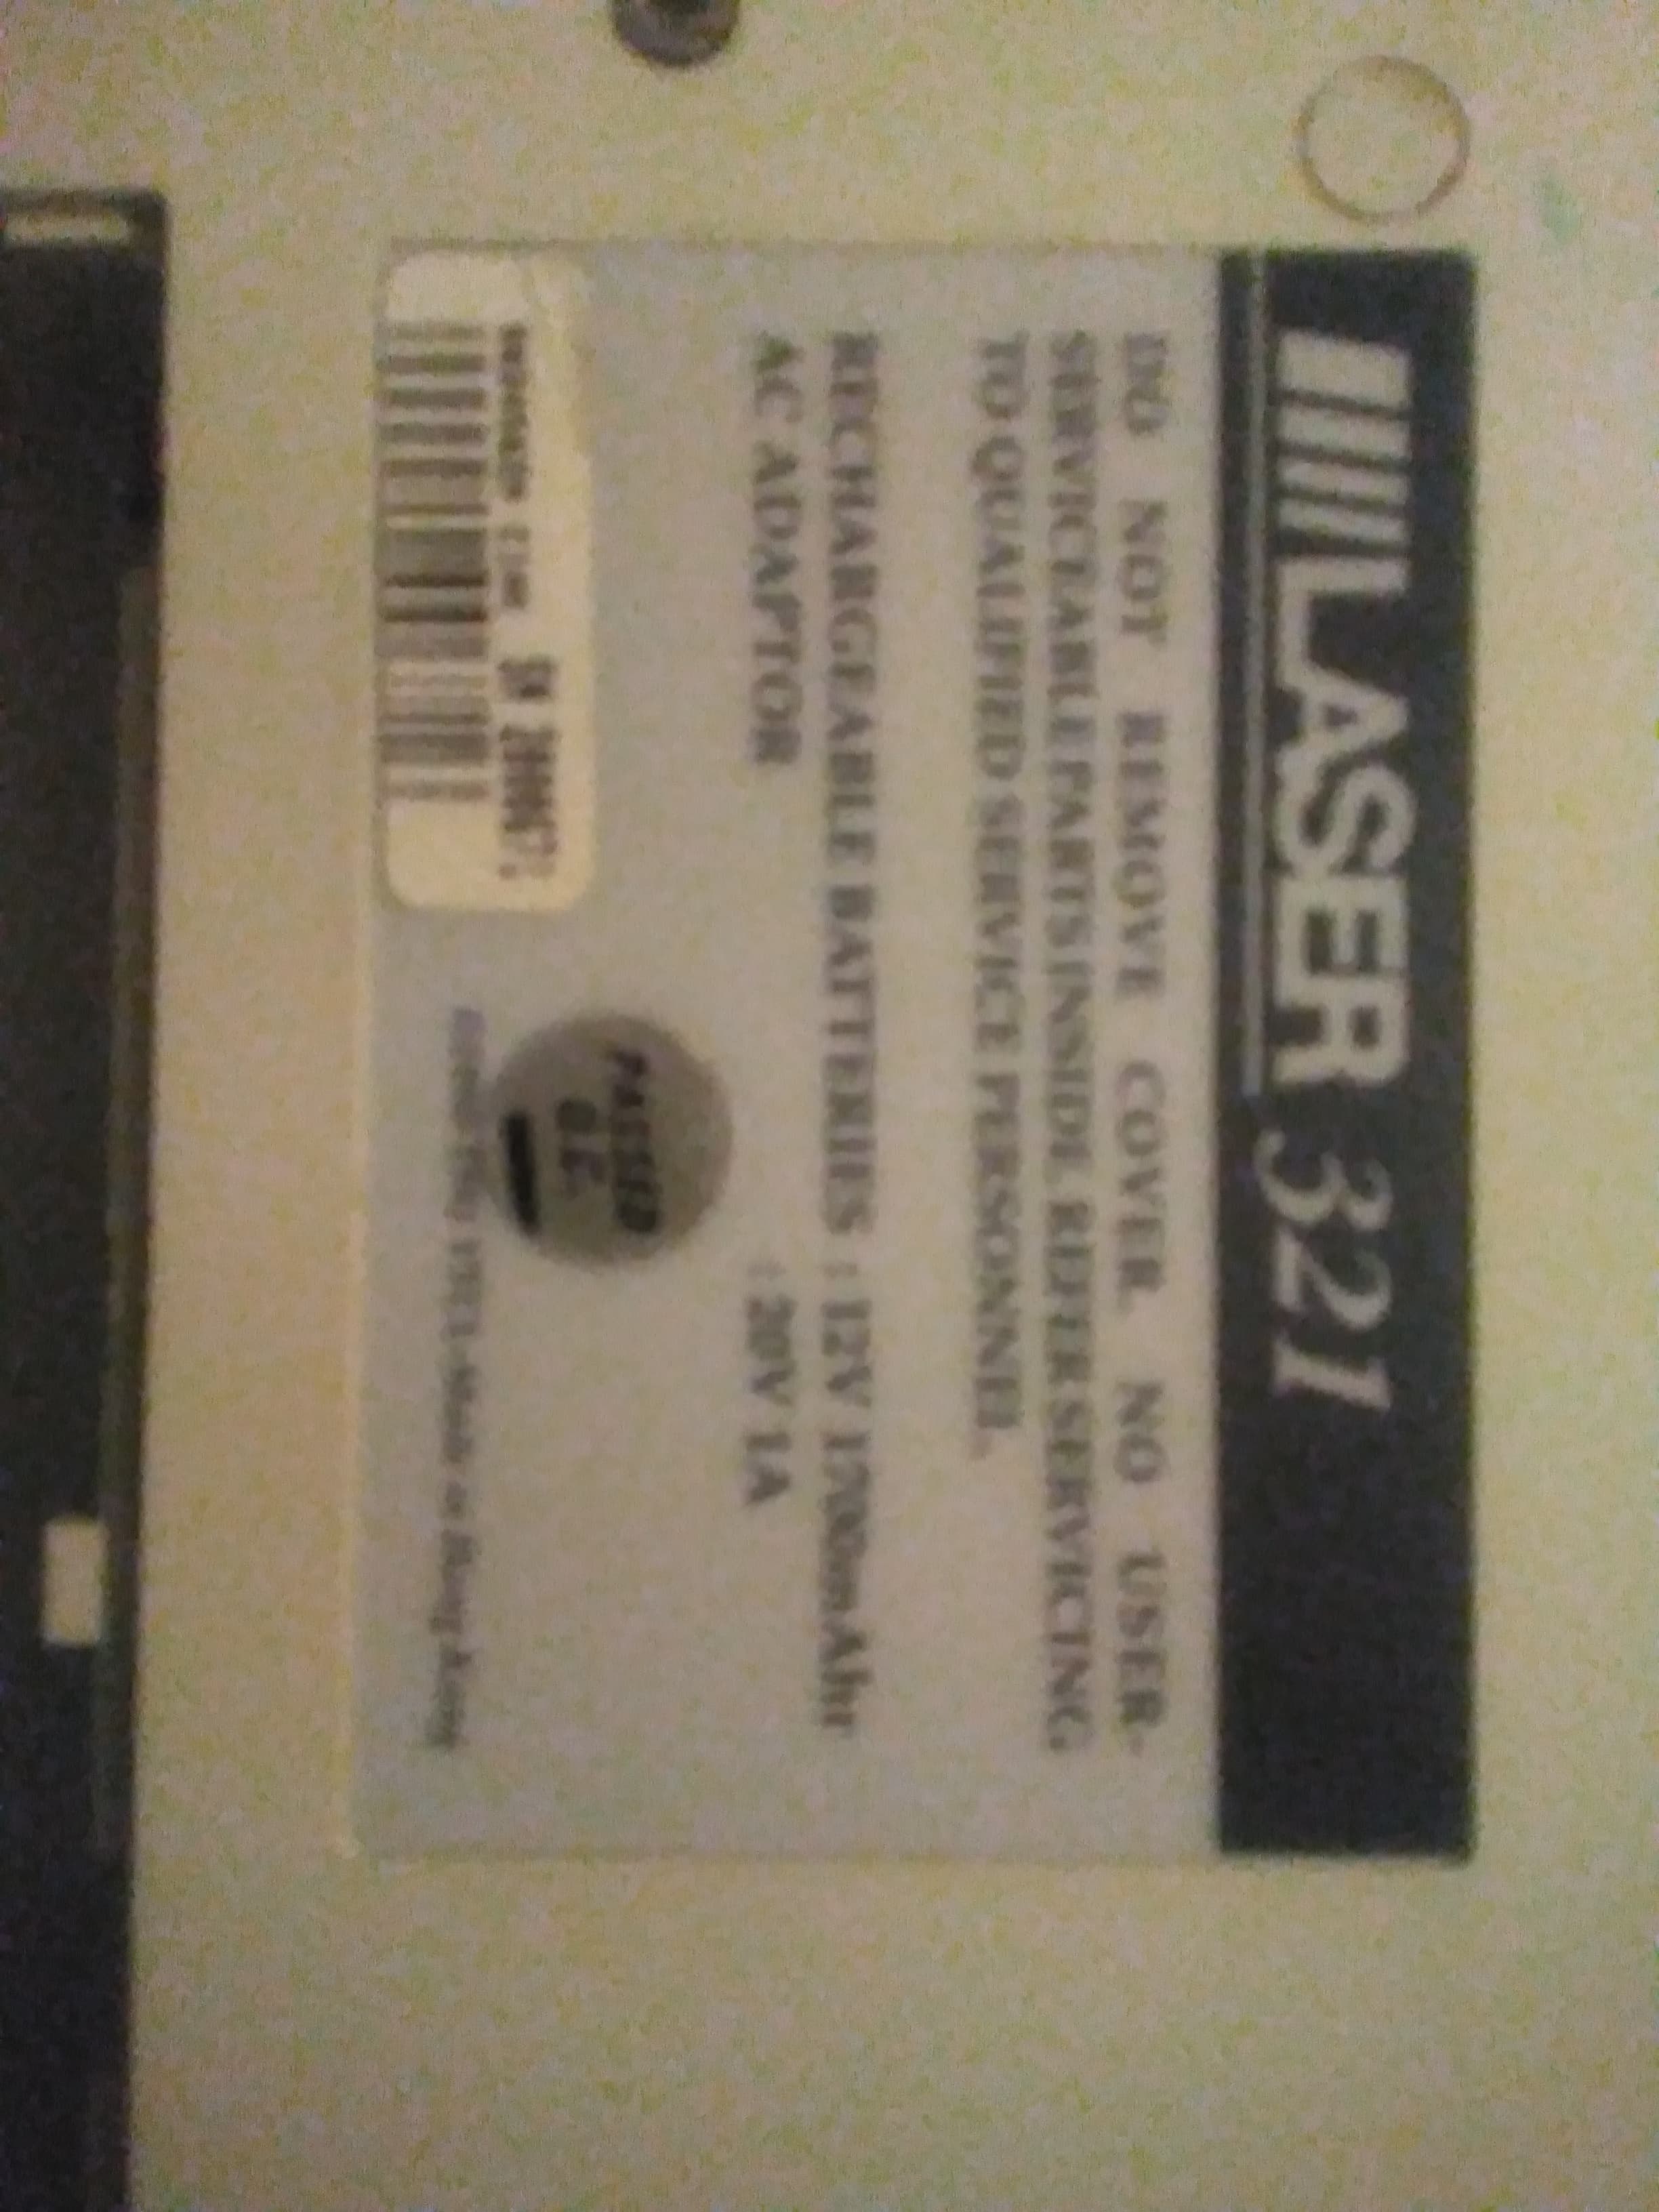
The label on the back states AC Adaptor 20V 1A.
There is a DC port on the back but I don’t recognise the standard, though I am no expert.
Do any of you gurus have any advice on how to get this machine running, even temporarily?
1 Like
Uuuu! That’s a nice gem you’ve got there. My oldest laptop in my small collection is a Toshiba Satellite 200CDS, but yours takes the cake!
I would not recommend tinkering with power adaptations to it unless you know what you’re doing. I was able to find here an image of the back of the power supply and fortunately it has a diagram of the power pins.
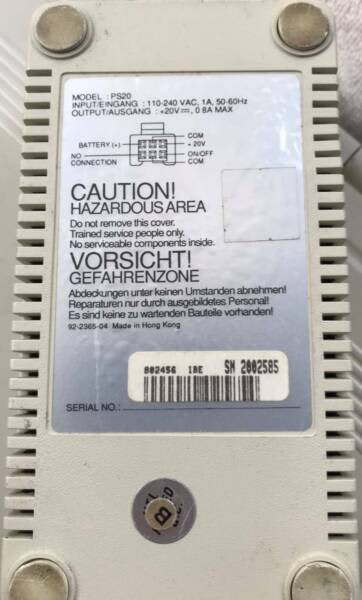
It seems to have a 6 pin plug marked with
Battery (+) COM +20V
No connection COM On/OFF
Please, please have this confirmed, but as far as I can gather:
- the Battery pin provides power to recharge the battery it is used in conjuncture with one of the COM pins which I gather means ground;
- COM - ground reference (-)
- +20V - here you need to provide the +20V. Make sure the power source provides at least 1 amp for that voltage rating. More amps are ok, since the device will take what it needs. Having less, is bad.
- No connection is probably a fancy way of saying that pin is not used and you can ignore it.
- On/Off - That may be a signal pin that turns on or off the laptop. Maybe a power management feature?
Regardless, the way I see it you have two options of having the laptop work:
- have a 20V power supply feed the +20 and a COM port. Not sure about the On/Off pin;
- supply power to the battery pins which are exposed on the back of the laptop.
Very important for option 2, you need to identify the correct polarity of those pins and the voltage will definitely NOT be 20V. Given that era, I’d expect 12V.
But, again, do more research to confirm the clues I gave you. It would be a shame to burn it. That is, if you still think it’s working.
Good luck!
Later edit. Haha, I didn’t pay much attention to the other pictures, but one of them clearly states the battery is a 12V, 1700mAh. It seems to be a 2 pin only, so no fancy needed. Just make sure you nail the correct polarity and I believe you can simply hook up a 2 amp, 12V power supply to it to make it work. 2 amps x 12 V = 24W.
Also, as a side verification, math checks out: power source 20V x 1 amp = 20W, battery 12V x 1.7 amps = 20.4W, so that’s the minimal power your laptop needs.
2 Likes
Wow. That is an incredibly informative answer. Thank you so much - this is clearly an excellent forum.
Yeah, it’s an old box - 1990 I think. I will try hooking a 12V supply to the battery pins to start with and report back. Thankfully the battery compartment shows the polarities of the terminals.
1 Like

Great! I cannot stress this enough, make sure you get the polarity right!
Oh, by the way, welcome to the forum!
Sorry, got carried away with the laptop. ![]()
Thanks. I’m glad it has generated some interest. If memory serves, Perkins Engines gave it to my dad when they sent him to Poland to do some consultancy at a firm that made tractors. At that time ('91) the LASER had more computing power than the whole of the factory, or so the story goes. And I guess my dad held onto it afterwards …
1 Like
Nice! 386SX! You can install ubuntu! ![]()
![]()

So, is it operational?
Not yet. A suitable power supply has been ordered. I’ll report back soon.
1 Like
First signs are not good. I hooked it up to a 12V/2A supply using alligator clips on the battery terminals (polarity checked and double-checked). Two things happened. The power light came on, accompanied by a faint buzzing, and the room was filled with the smell of fish. So that’s bad caps right?
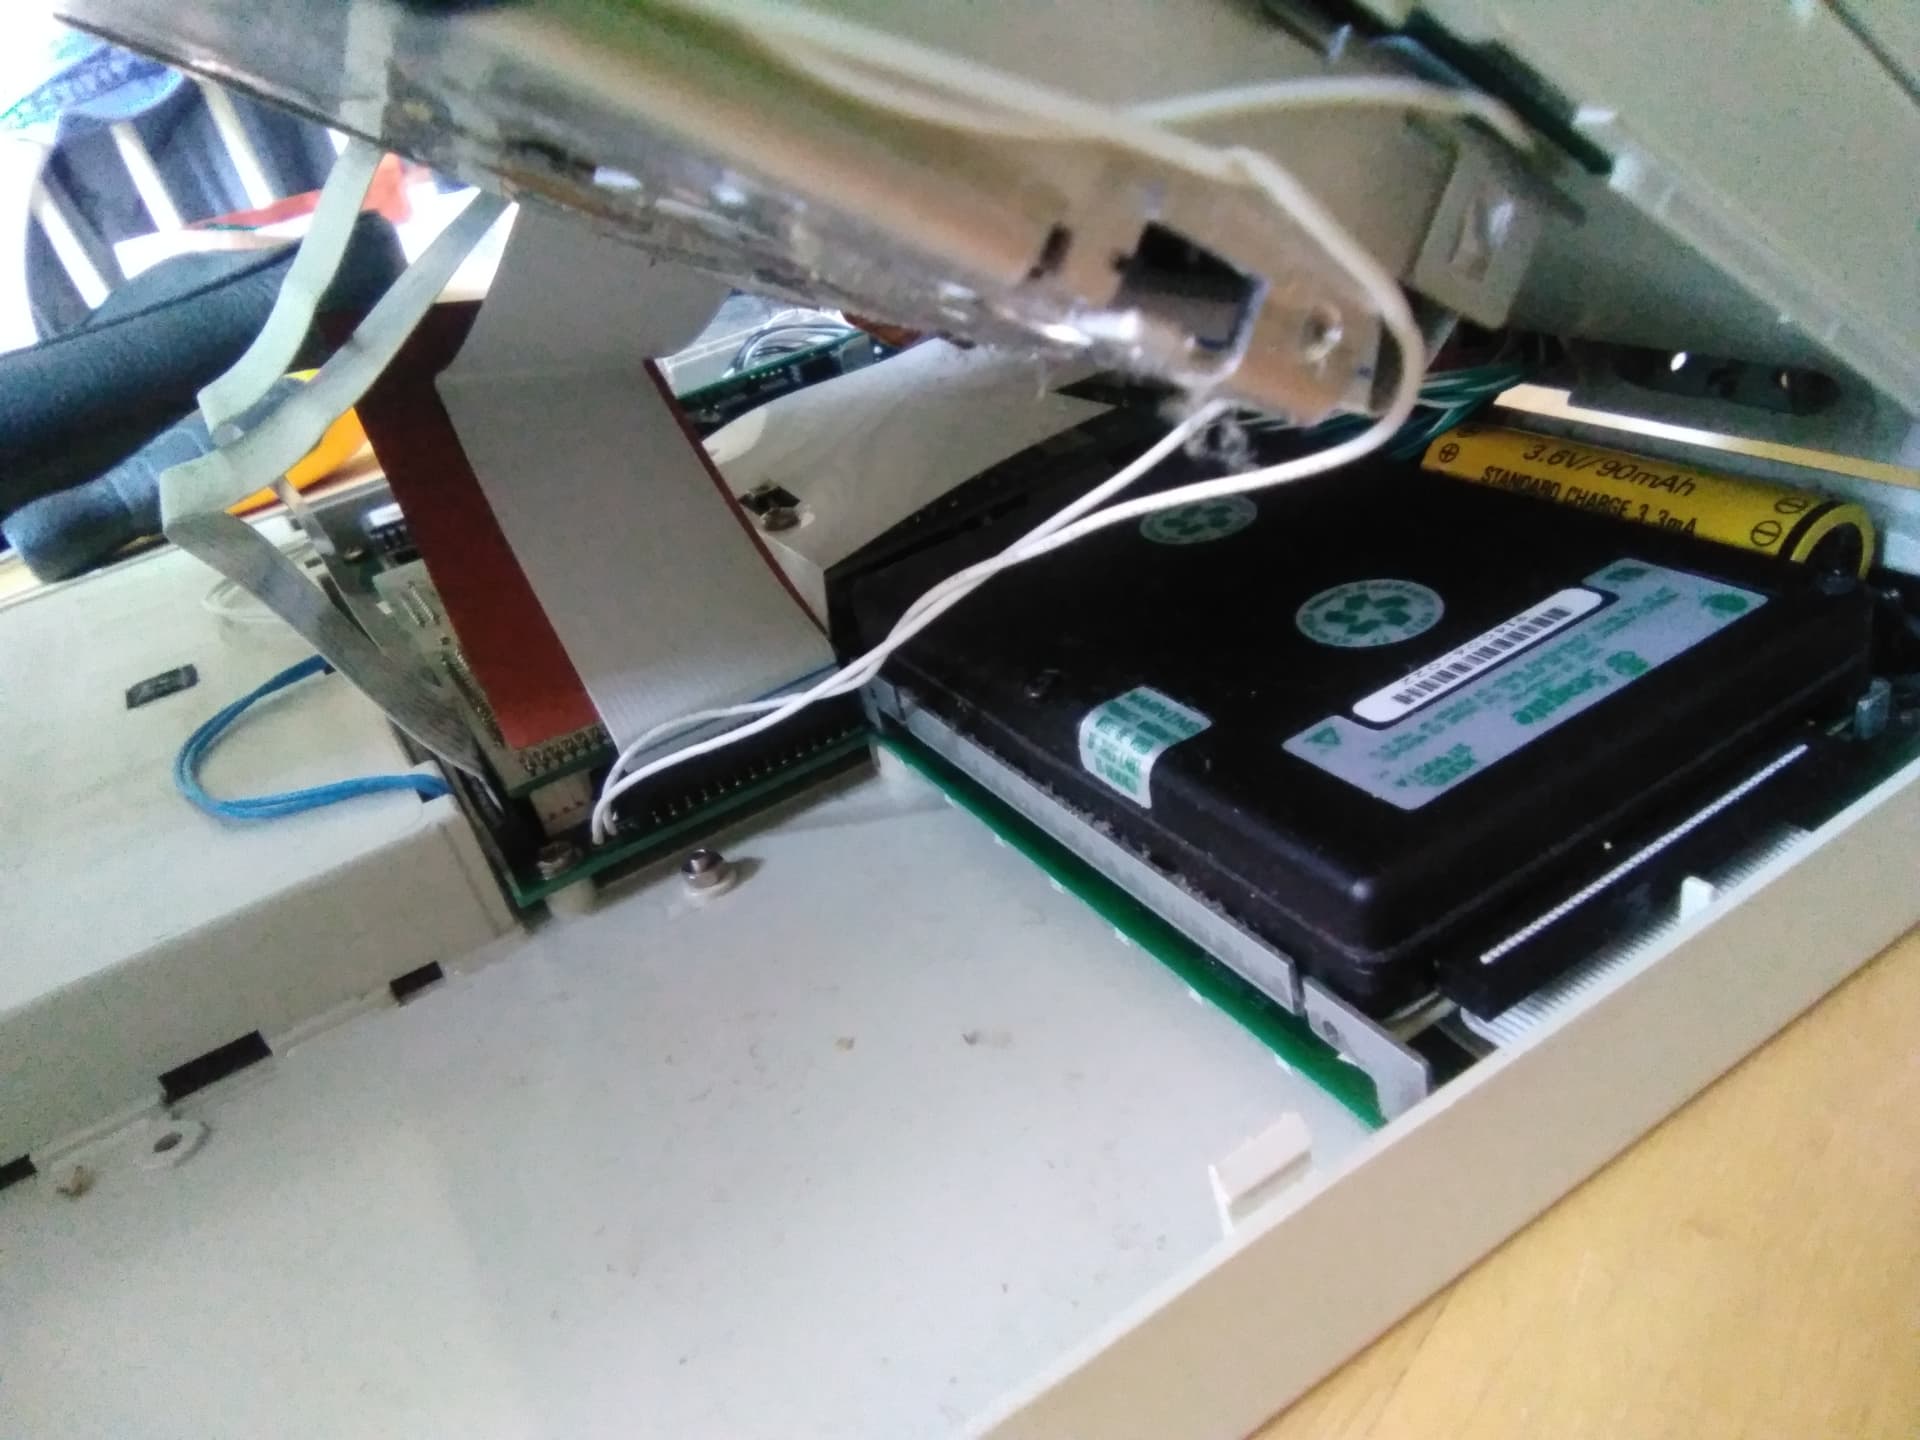
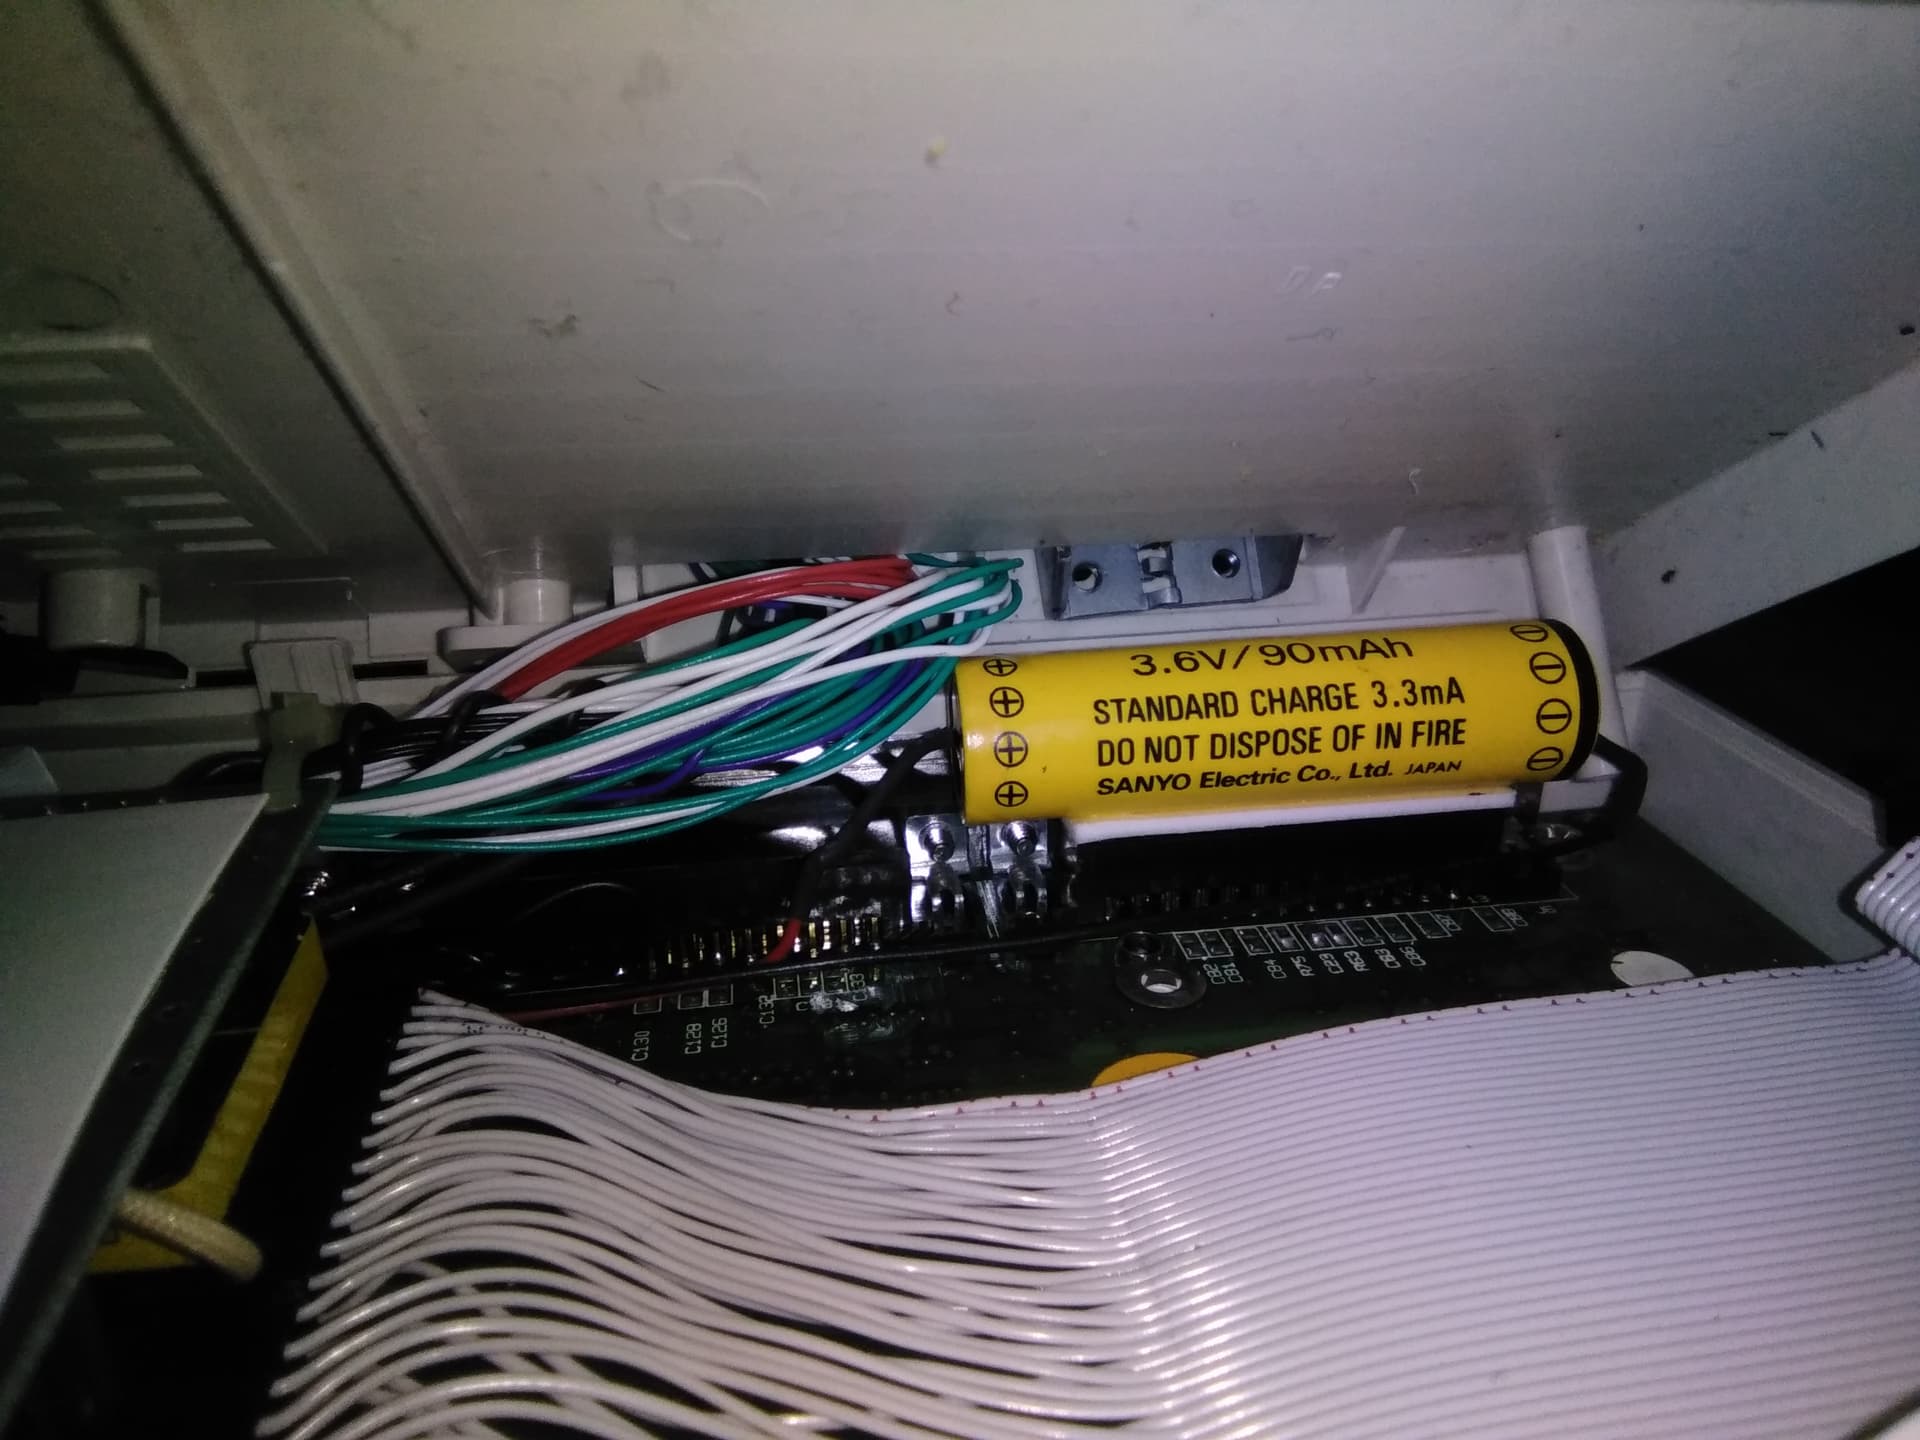
I opened up the case to have a quick look. I haven’t worked out the right order to disconnect all the ribbons and separate the two halves yet, but I did notice this battery nestled behind the hard drive. That’ll be the CMOS battery, most likely dead after 30+ years.
I fear this restoration may be beyond my limited hardware skills but I won’t be deterred yet. I’ve got this, an Atari 520STfm, and a Sinclair ZX Spectrum+, and I’m determined to see at least one of them working again!
That 18650 accumulator would be a peculiar design decision for a CMOS battery. Usually the CMOS battery is way smaller. There’s something off with having that there, but maybe I am wrong. Is it actually connected to anything?
Also, fish aside, were you able to notice anything on the monitor? CMOS battery being dead is not dramatic, it simply means it won’t be able to hold out the clock value, but except a boot warning message, all should work just fine.
I am encouraged by the fact that you noticed a power light and probably a fan turning on.
Did anything felt hot, or burning?
Also, since you opened it up (with the power disconnected), check for corrosion signs. And if you can bear the smell of fish, maybe try and smell some of the components searching for some recent burn indications.
If water reached the electronics at some point, especially salty water, such as what I expect to be a preservative for fish, it could mean bad news and you need to clean thoroughly all components (ideally with isopropilic alcohol). But whatever you clean with, make sure you dry well.
How did you decide to disconnect the laptop from power? Did an event happen or did you wait enough to think nothing else is happening?
A bit of googling suggests so - electrolytics which leaked, sometimes the juice smells fishy. Anything which looks like a leak, or any capacitor which is bulging, is a problem. Also sometimes you will see areas where solder has gone dull, which can be from nearby failed electrolytics.
CMOS batteries, when they fail, can produce white or green crystals, and the green fungus can spread to other components nearby, can eat the copper traces. (It’s not fungus, of course.) If there are patches of green discolouration, there might need to be some fine detail repair work.
1 Like
I think the next step is careful disassembly and inspection.
The screen was black, no messages, but it was definitely “on” and it flickered a bit when I fiddled with the brightness slider. Nothing to indicate a successful boot.
I gave it a few minutes before powering off.
The interior looked clean and dry but I’ll have a look for leaks, dry solder, etc.
1 Like
Slightly better picture with the HDD out. It certainly looks like a rechargeable battery. They did a good job fitting a whole 386 in this box, so getting it apart might be a challenge. What do people use to pull out hard to reach ribbon connectors? My fat fingers are no good here.
I suspect there are some connected ribbons that prevent you from taking the whole top part away?
Take some reference pictures of anything you plug out before plugging out then do it. If some ribbons are too fragile, I’d think twice, but I don’t think you’d get those except maybe for the monitor ribbon that I don’t think you need to pull out. Just pull gently, see what’s keeping it from coming apart and trace that to some connector that ideally you’d pull out.
That depends really. First off, I try to have clear access and if you do, fat fingers are good enough too. If not, take a picture of the situation. Or, do you mean that ribbon with the gray wires? If so, take a closer picture of the connector, maybe a straight screwdriver is sufficient to nudge the connector slightly.
Excellent advice there - thanks again. I’ve separated the two halves by disconnecting the ribbons and I’ve started inspecting the innards.
First that battery. It’s plugged in near the power switch. It’s a Sanyo Cadnica rechargeable backup battery, and dead as a doornail.
It’s the second plug, red and black, disconnected in this photo:
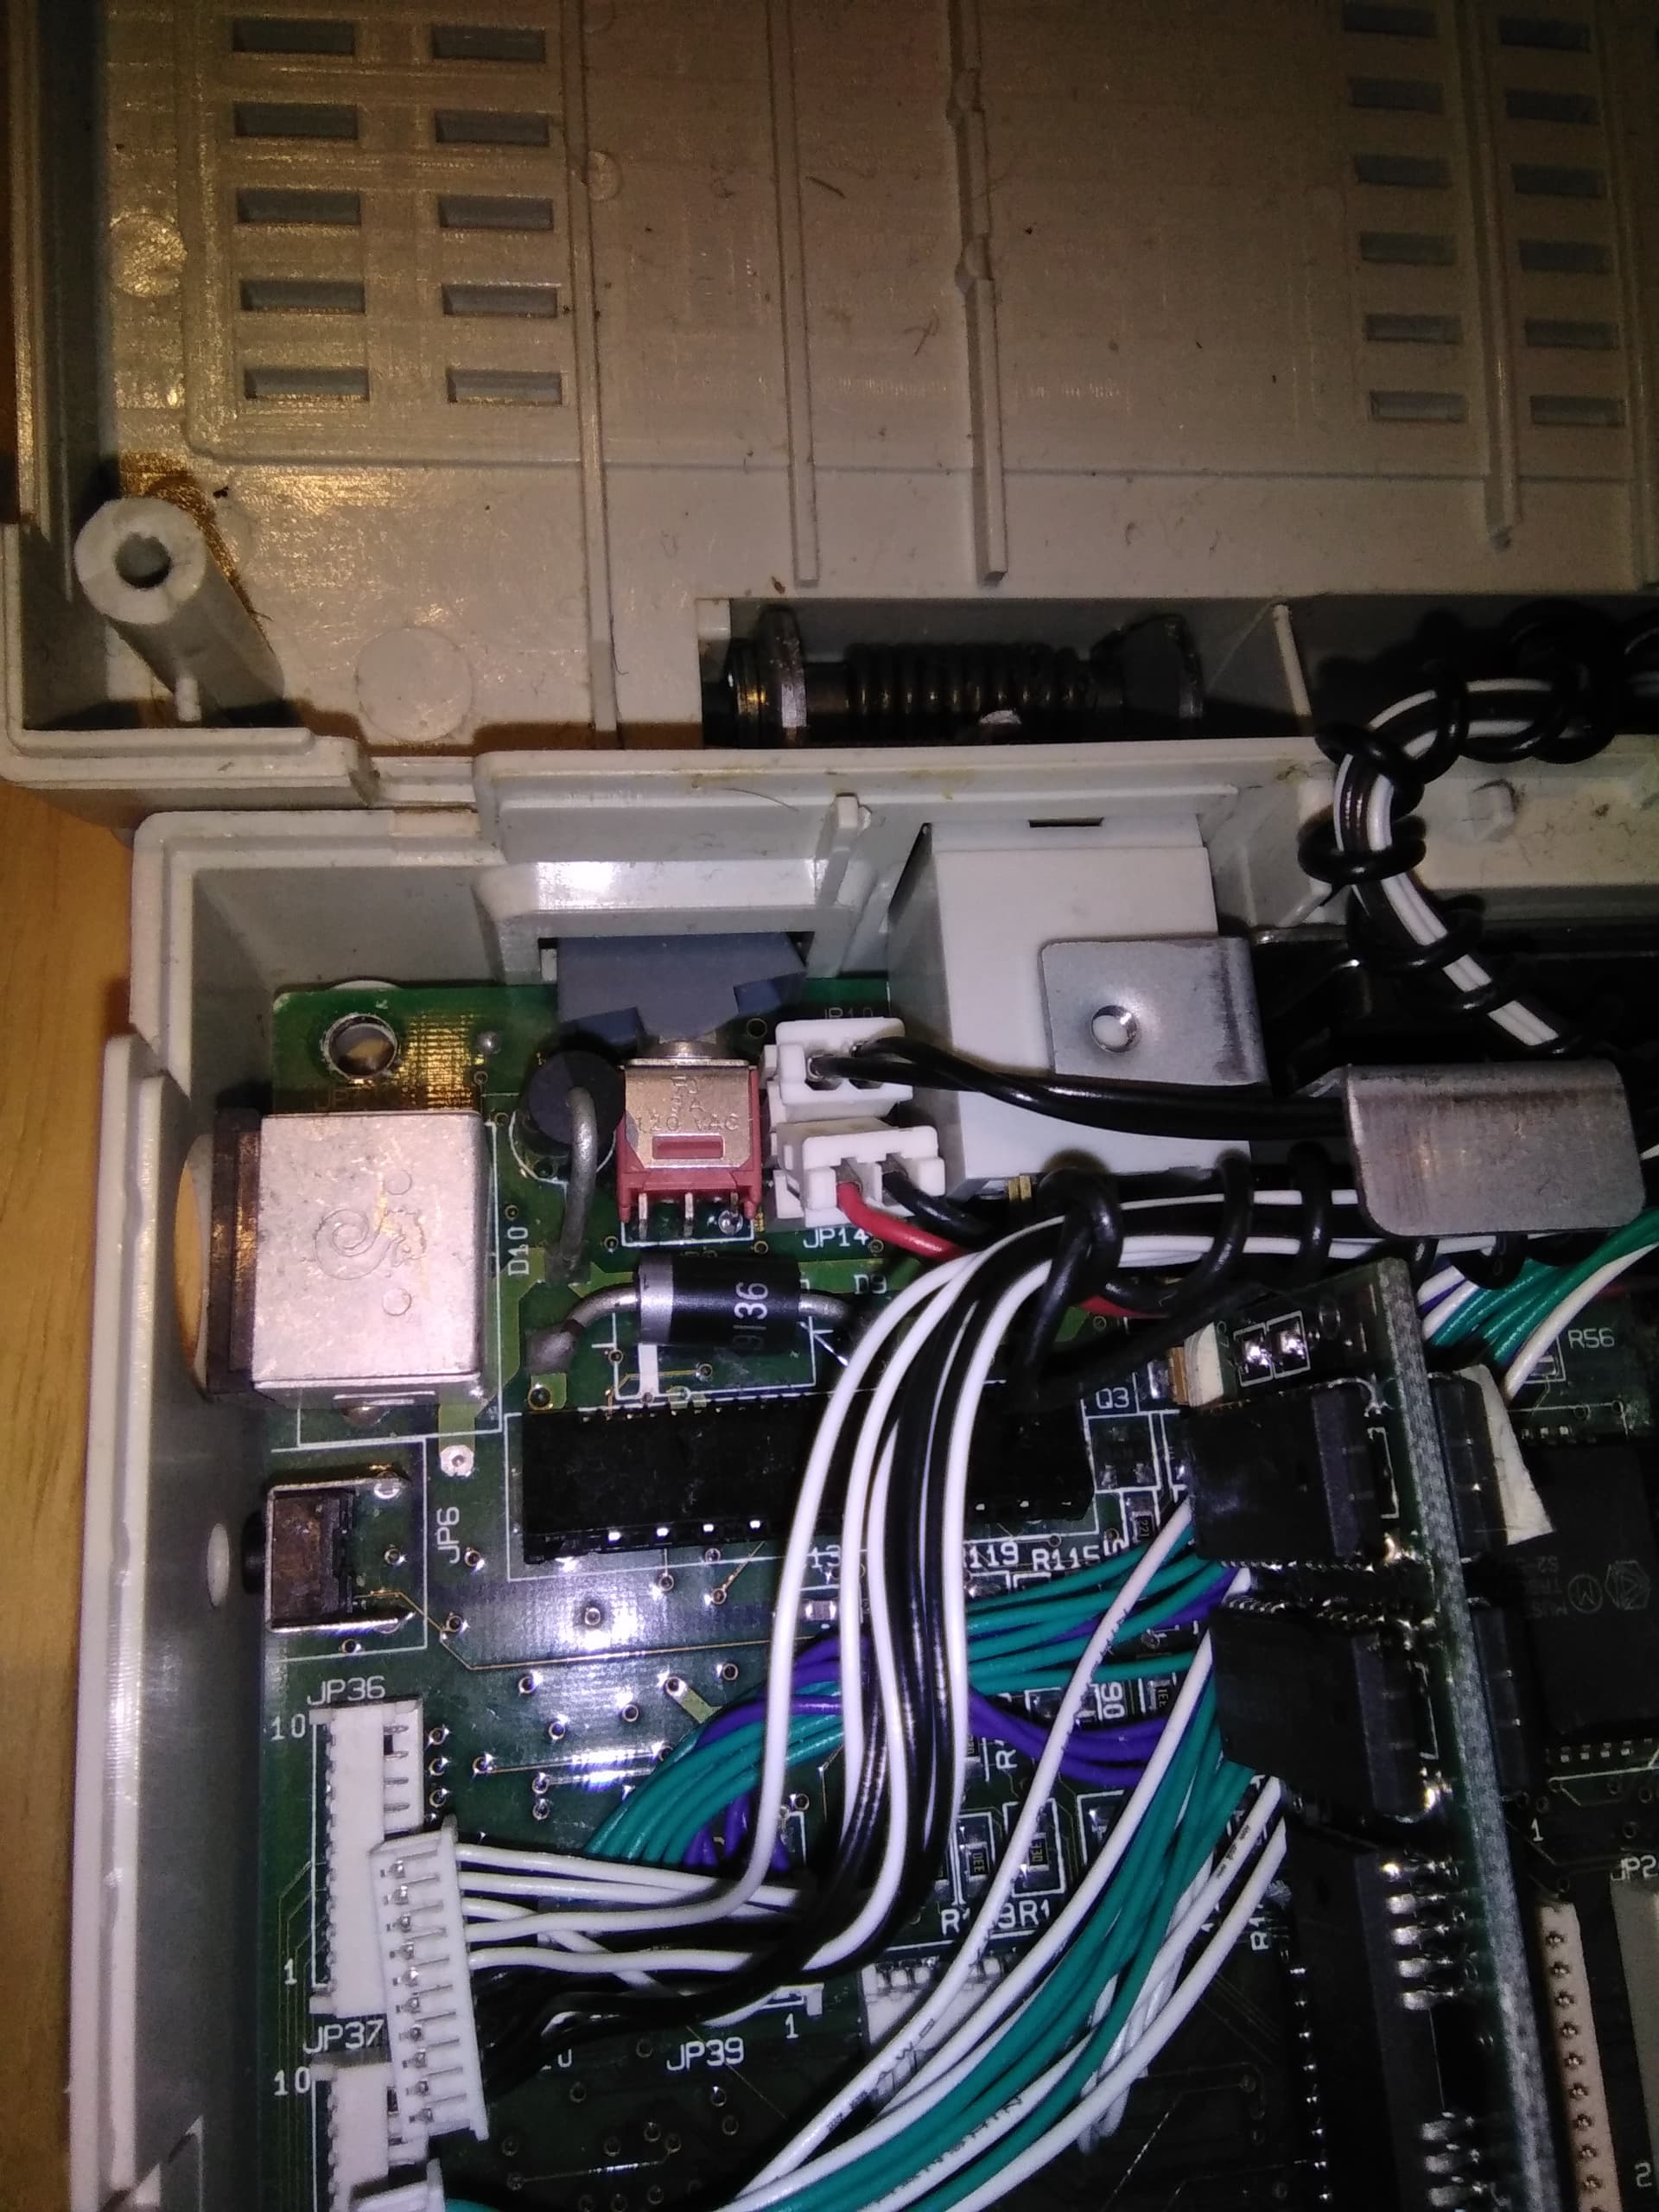
My guess is that it recharges when the laptop is on mains power. Because of its age I think replacing it might be a good place to start.
I can’t see any other problems but I have the eyes of a novice.
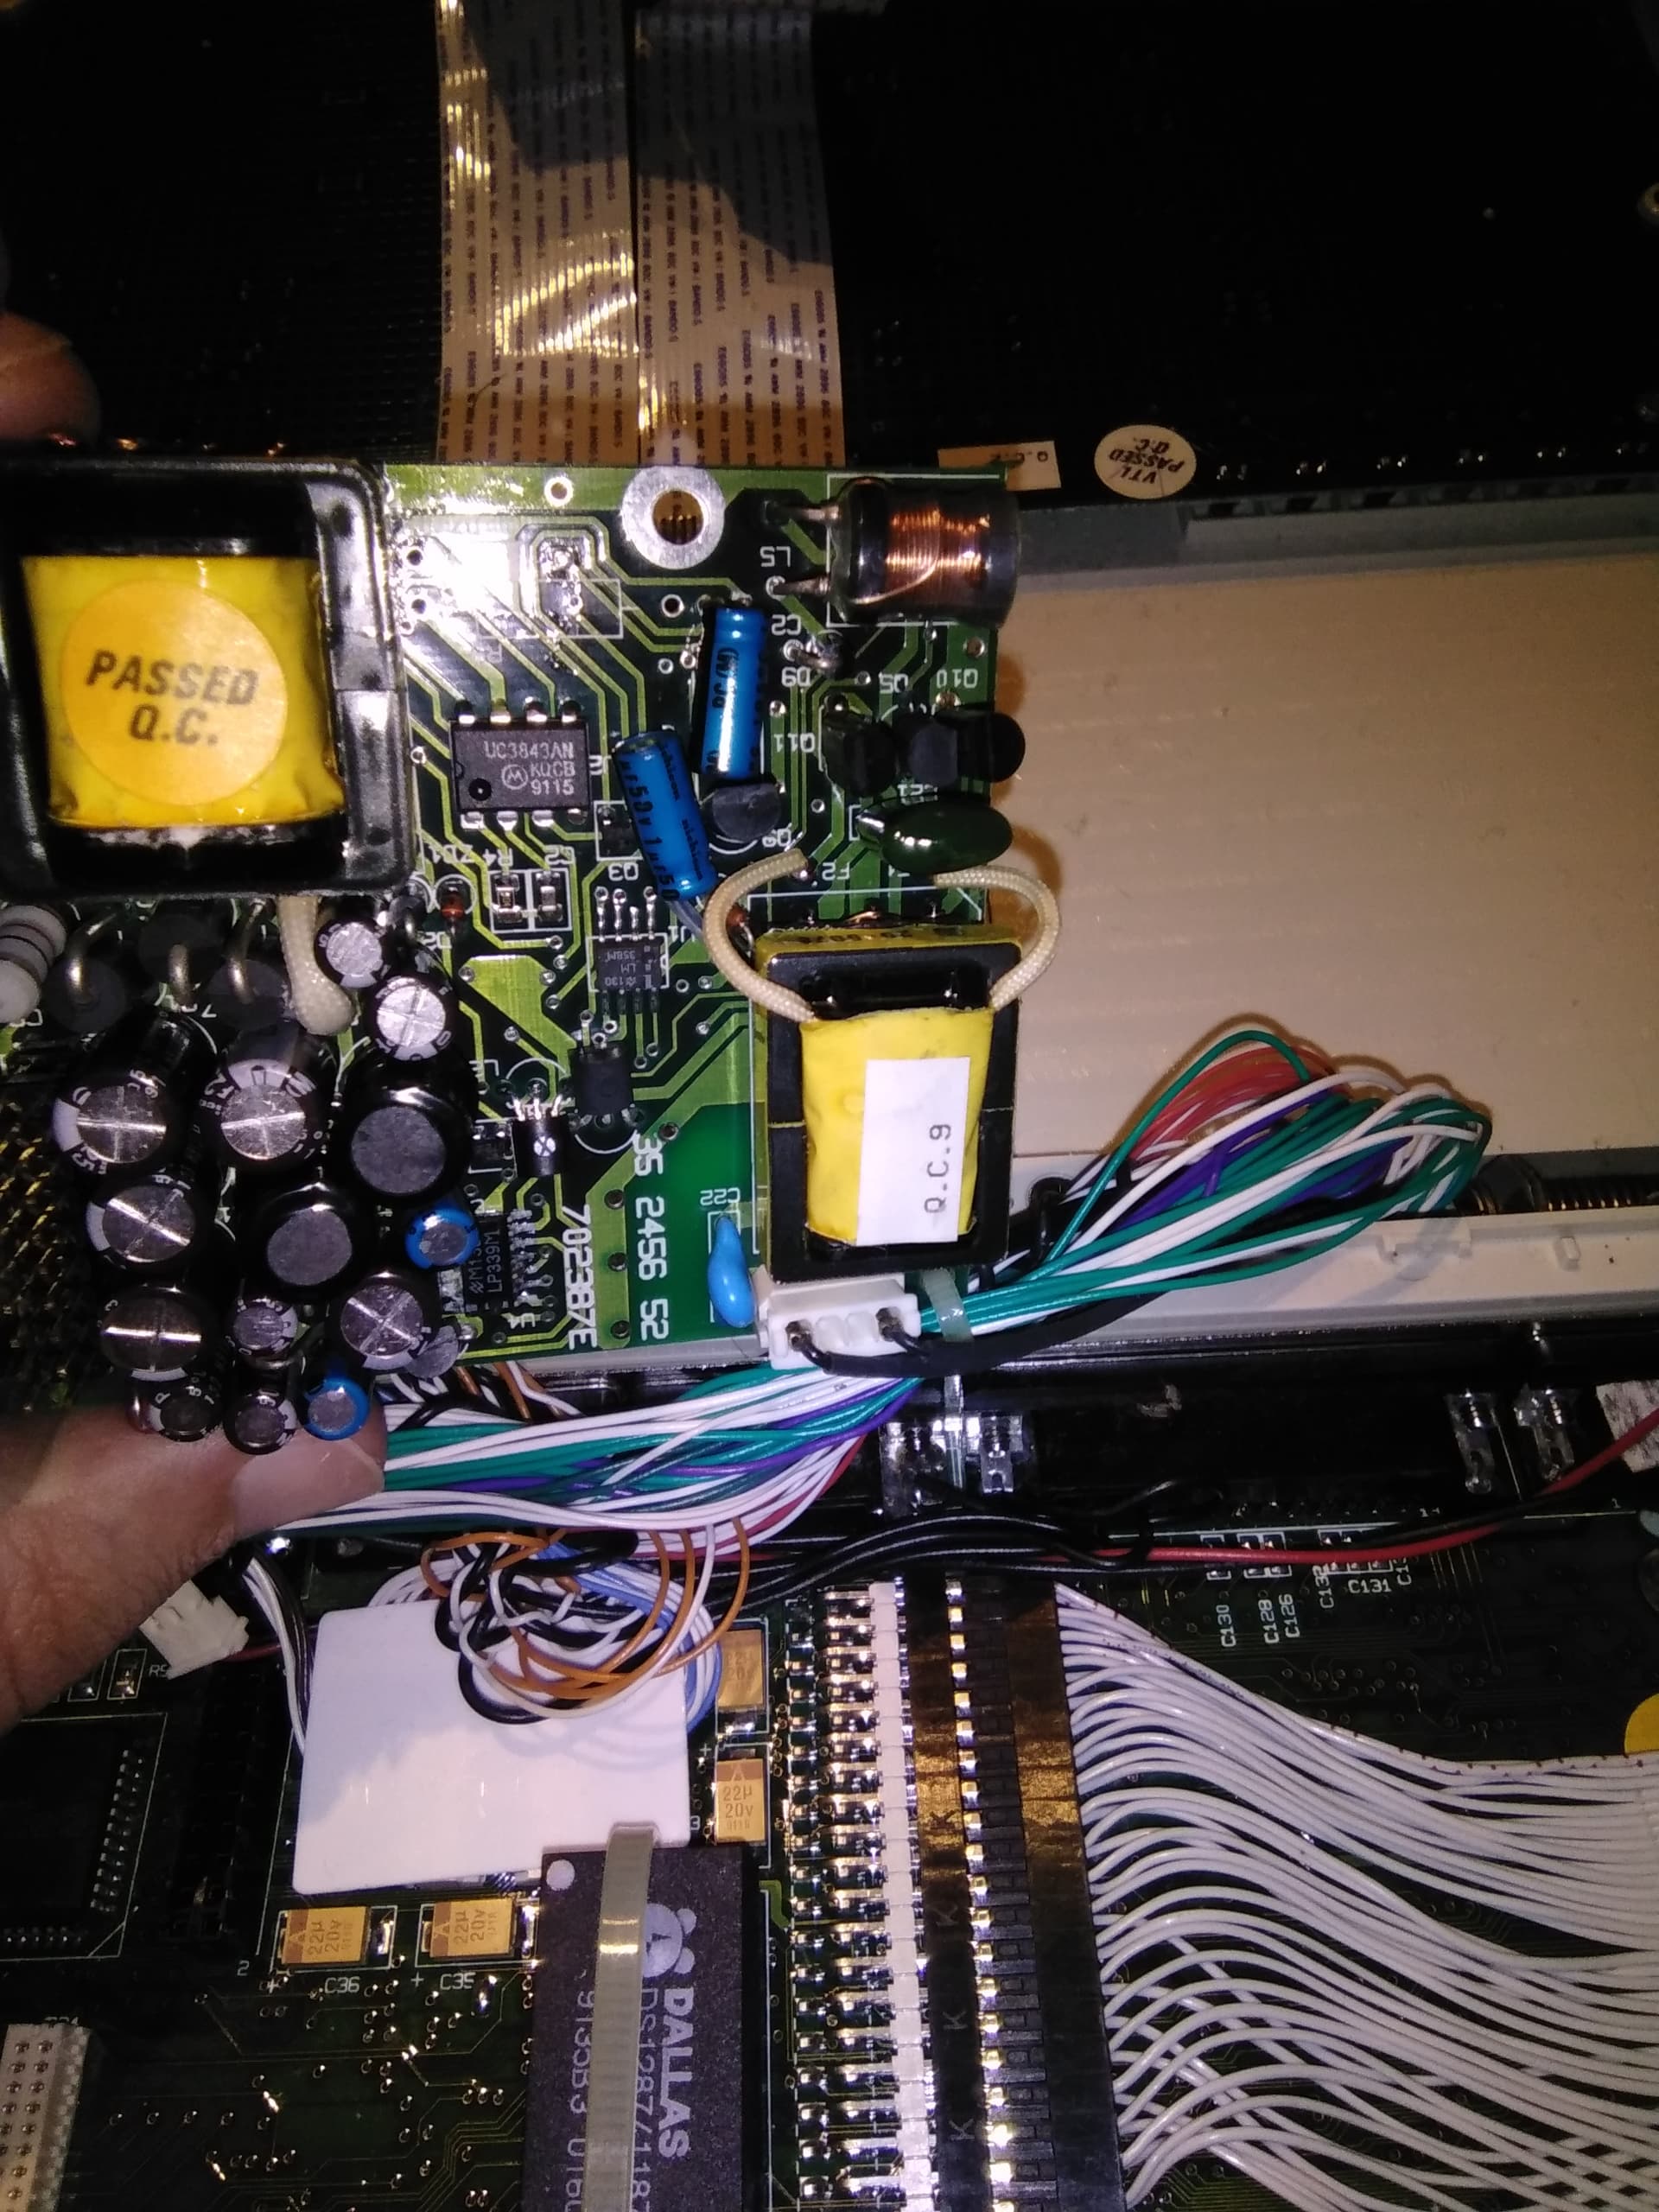
Lots of caps here:
Whatever the outcome, I’ve enjoyed digging around inside this machine.
About the accumulator, yeah, I had the same on my Toshiba. It usually recharges when powered on and offers power for extended periods of time to keep BIOS clock and maybe others. It’s just that mine was smaller.
You could try and measure it, if haven’t already. Maybe even get 3x 1.2 regular accumulators, connect them in series so they give you 3.6V and then gently connect the output to this yellow accumulator. MAYBE you can revive it, but most likely the magic chemestry in it all dried up.
I must clearly point out, I am only an enthusiast tinkerer of electronics. My speciality is programming. With that said, to me the capacitors look ok as far as I was able to observe from the pictures. Well, to be honest, all looks surprisingly good, given the time. I’ve seen way-way worse.
Again, the accumulator, I don’t think it’s such a problem for boot, only an extra beep and a skippable error.
You could try to check the solderings here and there, to make sure that they didn’t disconnect. I don’t know the fancy term for it, but sometimes they come loose from the board and form an imperfect connection.
Maybe someone else has more ideas for you. As said, since I am only a mid-level tinkerer, I usually try and visually figure out what’s broken, blow the dust, and if that doesn’t work, I am done. Don’t have the skills to debug electronics further. ![]()
As I understand it (fortunately not based on own experience), electrolytics are supposed to smell more sausage-y. A smell of fish is often associated with RIFA capacitors. These are block-shaped capacitors which are usually found in power supplies near the main power switch. They are easily identifiable by their translucent package (often with a “RIFA” print) and this package tends to crack over time, thus exposing the capacitor to moisture and corrosion, which in turn leads to the fishy smell, when they eventually fail.
These capacitors are often found directly across the main power lines and are meant to filter out any noise from the main line. Apparently, you could do even without them.
In case you’d want to replace them with a different type, make sure this is a power safety capacitor! There are X and Y designations and any replacements must match the orinal designations. (These safety capacitors are most often yellow or red.)
Compare:
https://images.app.goo.gl/y5zj5jj2JAmY5hrR8
https://images.app.goo.gl/GQ3uFn5GpUnznujf9
https://images.app.goo.gl/z6svR4z7TKC9fxLs5
Having said that, I’m not sure if we’re supposed to find these in laptops.