This may be interesting to those who are investigating case yellowing more thoroughly:
Recently, I got my first “real” desktop Mac back, a Centris 660 AV from 1993 (I think, I acquired it in Aug. 1993). It sat stationary on my desk until I phased it out in favor of a PowerMac 7300, which must have been around Easter 1997, and gave it to my brother, who had it in use for some additional years (so it had seen about 10 years of service life). So far, there isn’t much unusual about this.
What may be interesting, is the pattern of case yellowing, which isn’t too severe in general: while there is next to no yellowing overall, there’s slight yellowing on the left side of the top case and at the left few centimeters of the front panel. The same pattern is seen on the Macintosh Color Display, which is associated to the machine and the mouse (you can clearly make out the direction of the exposure on the beveled top, caused by light coming from the left). The Extended Keyboard II is another case and there’s some pretty noticeable yellowing on this. This pattern provides a pretty good indication for when the crucial exposure was happening: When I had the machine, I had it sitting stationary on a desk in a room facing to the South and the light coming from the right. When my brother had the machine, it was the other way round with the light coming from the left. Meaning, while the machine was exposed to some bright light in the first 3 and a half years, this didn’t contribute much to yellowing and all this happened only after this! – I guess, there must have been a first stage of degradation of the material, before the exposure to light could cause any harm.
As for the computer, it is in pretty good nick and, somewhat miraculously, the battery didn’t leak. (However, in its later years, it had been exposed to cigarette smoke and the inside of the PSU and of the monitor required some intensive cleaning.) Next plans: get a new battery and install AUX.
Something I didn’t remember: The entire assembly is based on sliding mechanisms. There’s just a single screw in this, securing the PSU, which is else held in place by a sliding mechanism as well. Even the the top case is secured by two tabs at the rear. – Meaning, unless you want to remove the PSU, you can dissassemble the entire machine and its component groups without a screwdriver. – The days, when Apple devices were service friendly…
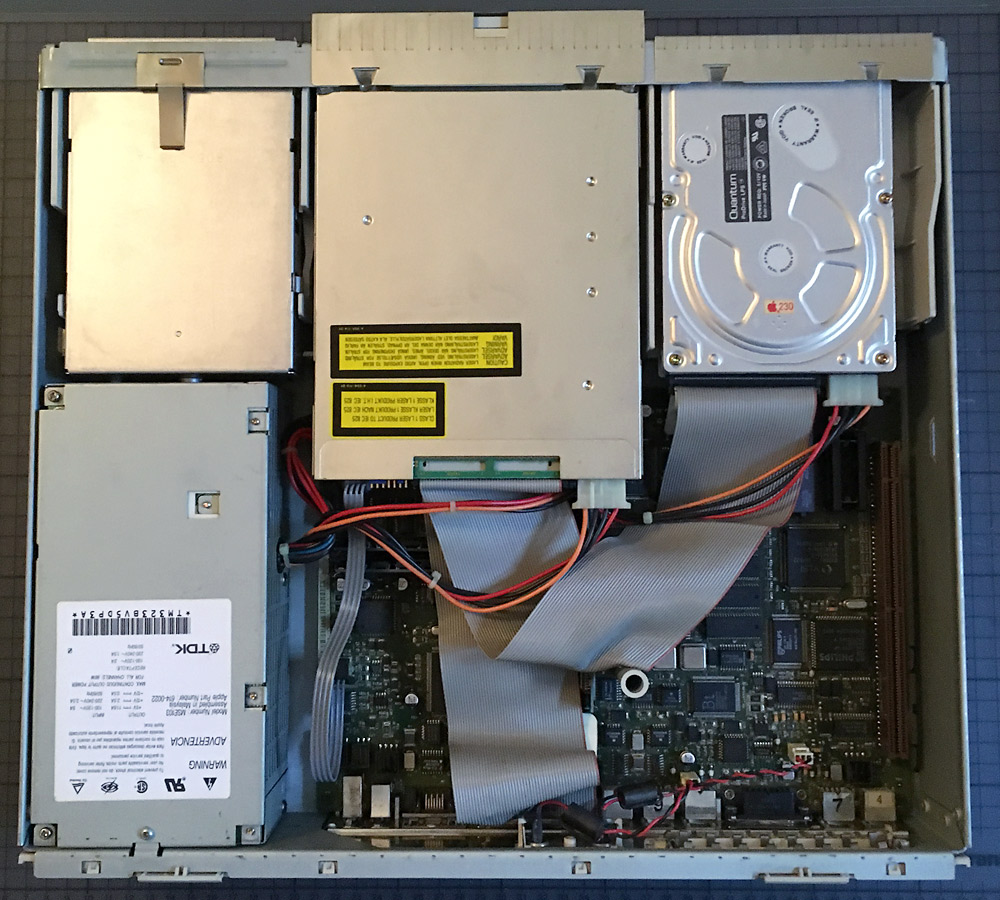
Top case removed (after cleaning – the single screw is seen on the lower left, in the center of the lower edge of the PSU, note how the back panel is held in place by just some tabs as well)
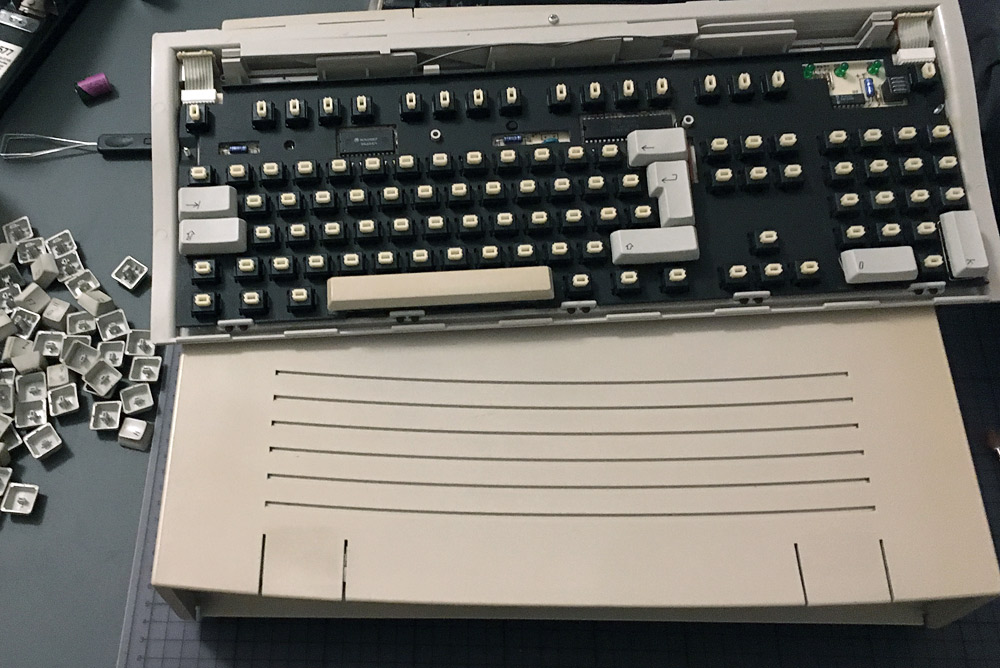
The tabs at the rear and the Extended Keyboard II (ah, those magnificent Alps switches!) with cleaning efforts going on. (The color aberration seen here is more an artifact of the photo. In fact, this side of the case was never exposed to light with the monitor sitting on top. However, we can make out the faint yellowing on the left top edge – here on the right of the image as we are facing the machine from the rear.)
P.S.: If you ever attempt to open a Macintosh Color Display, make sure to get the service manual. The case is secured by just a couple of screws and is mostly held in place by two hidden tabs. The manual will tell you where to depress the case on the top in order to slide it apart. (I guess, otherwise, you’ll have a hard time trying to pry the case apart and are likely to just damage the case without any more reasonable effects regarding getting the thing apart.)
